
MAILOCEAN / RESELLER GUIDE
Get started as a reseller
Create an account, agree terms and prepare your connection.
1. Create your account
Create an organization account in the MailOcean customer portal and verify an email address you control.
- Register with your organization name and an email address you control.
- Open the verification link in that inbox and create your password. Request a new link if it has expired.
- Sign in to the customer portal and review your organization profile.
2. Agree reseller terms
Creating an account does not automatically activate a reseller agreement. Submit a reseller inquiry and agree terms with the MailOcean team.
- Open Resellers in the main navigation and select Discuss a partnership.
- Complete the inquiry form with your business, contact details and requirements. You can also contact Support in the customer portal.
- Agree each product’s unit limit, rate, payment period and agreement dates.
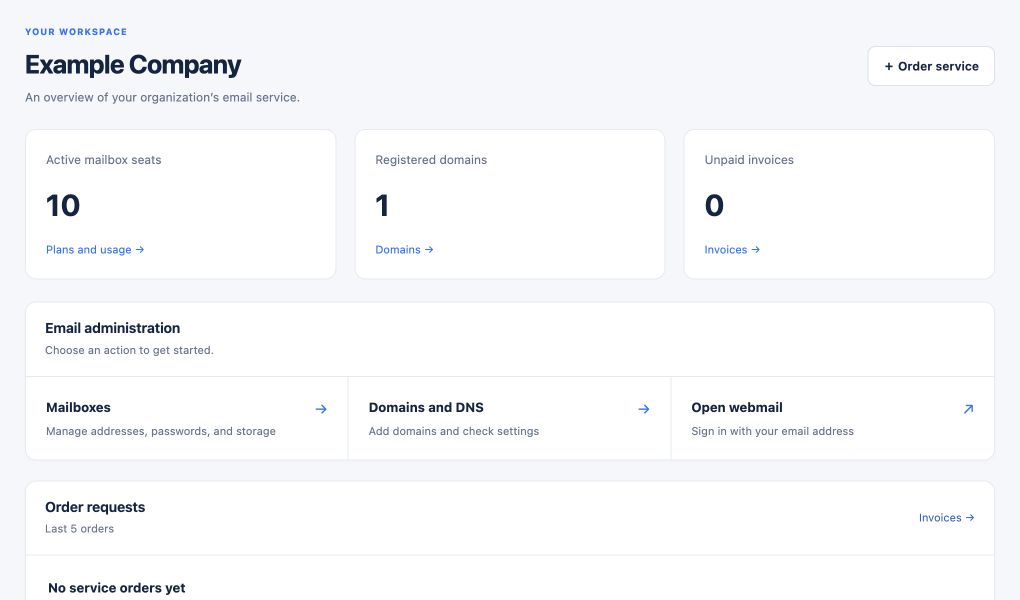
- After MailOcean activates the agreement, open Overview to check mailbox inventory and the next invoice estimate.
Wholesale rates are negotiated. Public customer prices are not automatically your reseller rates.
3. Prepare the connection
If you use WHMCS, follow the API credentials and IP guide, then the WHMCS installation guide.
- Have an authorized tenant administrator create a token using the API credentials and IP guide.
- Install both WHMCS components and test the connection using the installation guide.
- Review product configuration and a test order before publishing your products.
MailOcean capabilities
Customers use email on their domain through webmail, mail apps and their management area.
- Read and compose mail in a clean webmail interface with folders, search, calendar and contacts.
- Verify domains and manage mailboxes, aliases, forwarding and distribution lists.
- When enabled, copy mail and attachments from an IMAP provider into the MailOcean Import folder; MX cutover, calendars and contacts are separate.
- Where supported by the reseller agreement, configure branded webmail and DNS names.
Availability depends on the agreement, plan, verified domain, permissions and service configuration.